Podcasting Tips: Using Software to Make Your Podcast Sound Better - Part 3
Ready for more podcasting tips? In this series, we are talking about ways to make your podcast sound better. There is no reason for sound quality to get in the way of your content. Your podcast can and should sound as good as professionally produced shows. And, you don't need to spend a ton of money. All you need to do is learn how to use your software.
So far we have covered compression, normalization, and limiting. In this post and the next, I will look at equalization or (EQ).
Equalization is, at the same time, the simplest, and the most confounding bit of processing you can do. Most people have at least some experience with EQ. Maybe you once had an equalizer on your home stereo or have messed with the bass and treble on the stereo in your car. This is the same concept. What makes it confounding is that I can't just tell you how to set the EQ. Your EQ settings depend on a nearly endless array of factors. Your voice, microphone, recording space, use of music, other processing, and desired finished sound all play a part in the EQ process. Minor adjustments can make a drastic improvement in your overall sound or make it miserable to listen to.
What is EQ? (And what does it have to do with podcasting?)
Equalization (EQ) is the process of adjusting the levels of specific frequencies within an audio signal.
Equalization (EQ) is the process of adjusting the levels of specific frequencies within an audio signal. For simplicity, let's look back at the car stereo or other devices that have controls for bass, treble, and maybe midrange. That is a very simple EQ. You can turn the low frequencies (bass) up or down. You can do the same with the high frequencies (treble.)
Equalizer plug-ins in modern audio software give you a lot more control. They enable the manipulation of the levels on more specific frequency ranges. For this post, we will be looking at two different types of equalizers: graphic and parametric.
Proper equalization is important for all the elements of a production. In podcasting, your voice will be the main focus when thinking about EQ. Vocal equalization is always important but it can especially so for podcasters. Many podcasters end up with some deficiencies in their audio usually due to inexpensive mics and non-sound treated rooms. EQ is one of the ways we can overcome those limitations with software.
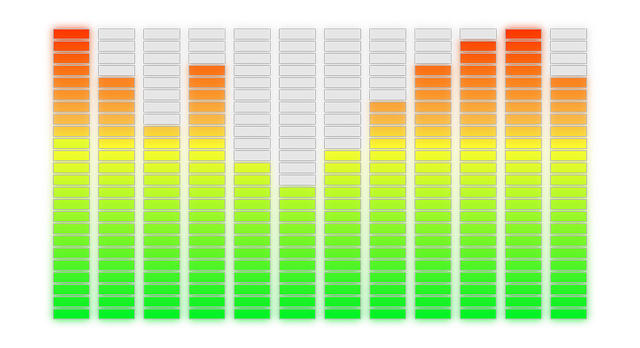
Graphic Equalizers

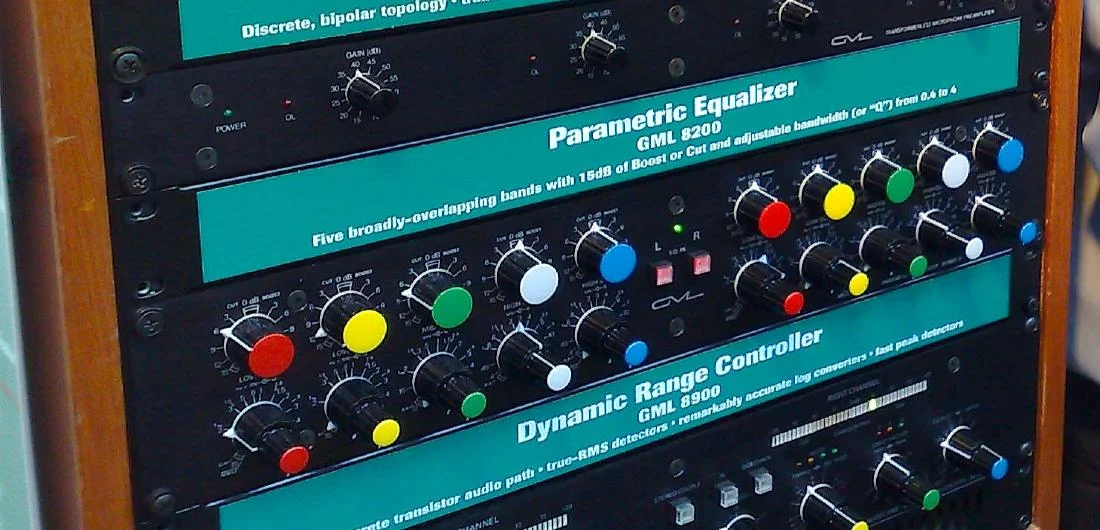
You don’t see many podcaster with an analog EQ like this anymore. Now, powerful EQ is built into most software.
Graphic equalizers are great for podcasters because the learning curve is pretty short for basic use. These plug-ins (just like their analog counterparts) divide the frequencies into bands. The number of bands varies.
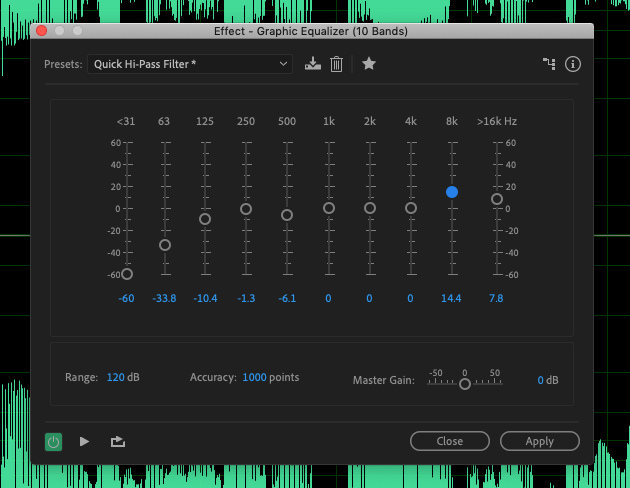
The ten band graphic EQ in Adobe Audition
Audacity, a program massively popular with podcasters, has a built-in graphic EQ with 31 bands while Adobe Audition allows you to choose from 10, 20, or 30 bands. GarageBand, as usual, is a little different. Instead of a conventional graphic equalizer, they offer a three band low, mid, high control. However, this pairs nicely with the more advanced Visual EQ which is a unique hybrid graphic/parametric EQ.

Apple’s GarageBand has some powerful EQ tools for podcasters.
So, how many bands does a podcaster need?
I may be in the minority amongst my colleagues, but I say, the fewer, the better. In other words, when using a graphic EQ, I like to work with the one with the least number of bands possible that will still enable me to create the sound I am looking for. If I can make the 3-band EQ in GarageBand work for my needs, there is no purpose of having 30 bands to mess with. It only increases the chances of making things worse. However, due to the unique needs of budget-minded podcasters finer control is often needed. This call for more bands or, our next topic.
Parametric Equalizers used to be expensive rack-mounted units. Now, they are built into software. This is great news for podcasters,
Parametric EQs
Parametric EQs can seem a bit overwhelming to new users. However, they aren't all that complicated. The interface is not as graphically intuitive as the graphic EQ where things are as simple as turning the desired band up or down.
Basically, parametric equalizer's allow you to select the exact frequency you wish to adjust. Instead of a pre-selected band, you can control a frequency or range of frequencies of your choice. This allows for more precise adjustments.
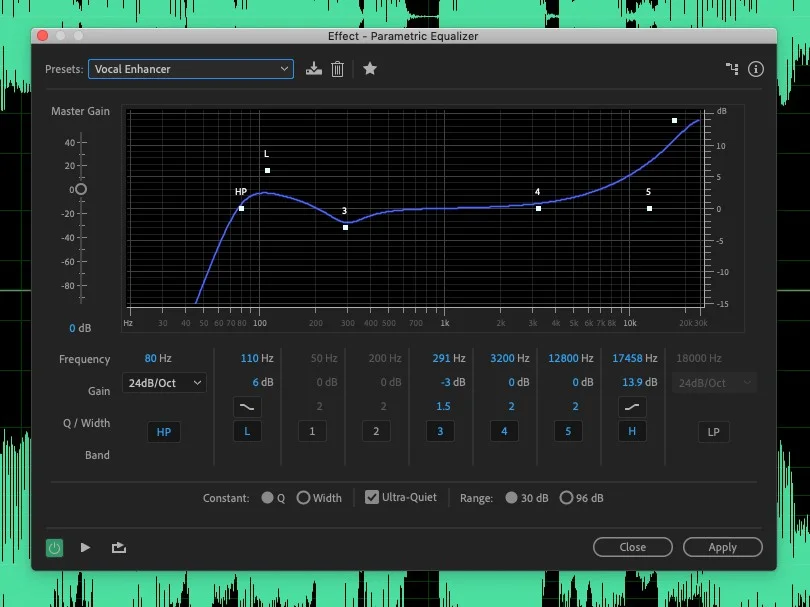
The parametric EQ in Adobe Audition. With a little practice, this can be a great tool for podcasters.
This can be a huge help to those producing a podcast. When you are trying to make up for the echo in your recording space, reduce the sibilance in your voice, or just trying to make a cheap mic sound better, precise adjustments can be lifesavers.
I’m a Podcaster, Which One Should I Use?
For the most part, for the work we are doing on improving podcast quality, you can use graphic, parametric, or any of the hybrids in most recording and editing software. Honestly, for podcasting, I have a graphic equalizer set up as a preset that I use for nearly every episode. That helps me sound the same from episode to episode. For voiceover work, I tend to rely on the parametric EQ. I have a preset for that as well for delivering that studio-grade sound.
I also use the parametric when I need to remove something from the file. For instance, if I cut a track and there a slight pop from one of my p's, I often use the parametric EQ to cut out the frequency of that pop while leaving the rest of the sound intact. That saves me from having to recut the track.
For podcasting, it really comes down to personal preference and depends a lot on what software package you are using.
Up or Down?
When using an equalizer, it is tempting to begin by increasing the frequencies you want more of. A better approach would be to start by decreasing the frequencies you want less of. Boosting frequencies may be necessary or helpful at some point but begin by cutting.
A Little Goes a Long Way
I notice when people get started with equalization there is a tendency to overdo it. As your ears get more experience, you will realize that a reduction or boost of just a couple of dB can make a drastic difference. Unless you are cutting out a frequency entirely, try a little bit at a time.
So, now that you know your way around the EQ, it is time to start cutting and boosting. In my next post, we will look at what is included in the different frequency ranges and how you can adjust settings to fix common problems that many podcasters face and enhance the sound of your voice and podcast.